Get Internet Anywhere: How to Use Your Phone as a Hotspot
This is a simple guide to creating a personal Wi-Fi hotspot with your smartphone for internet on the go.

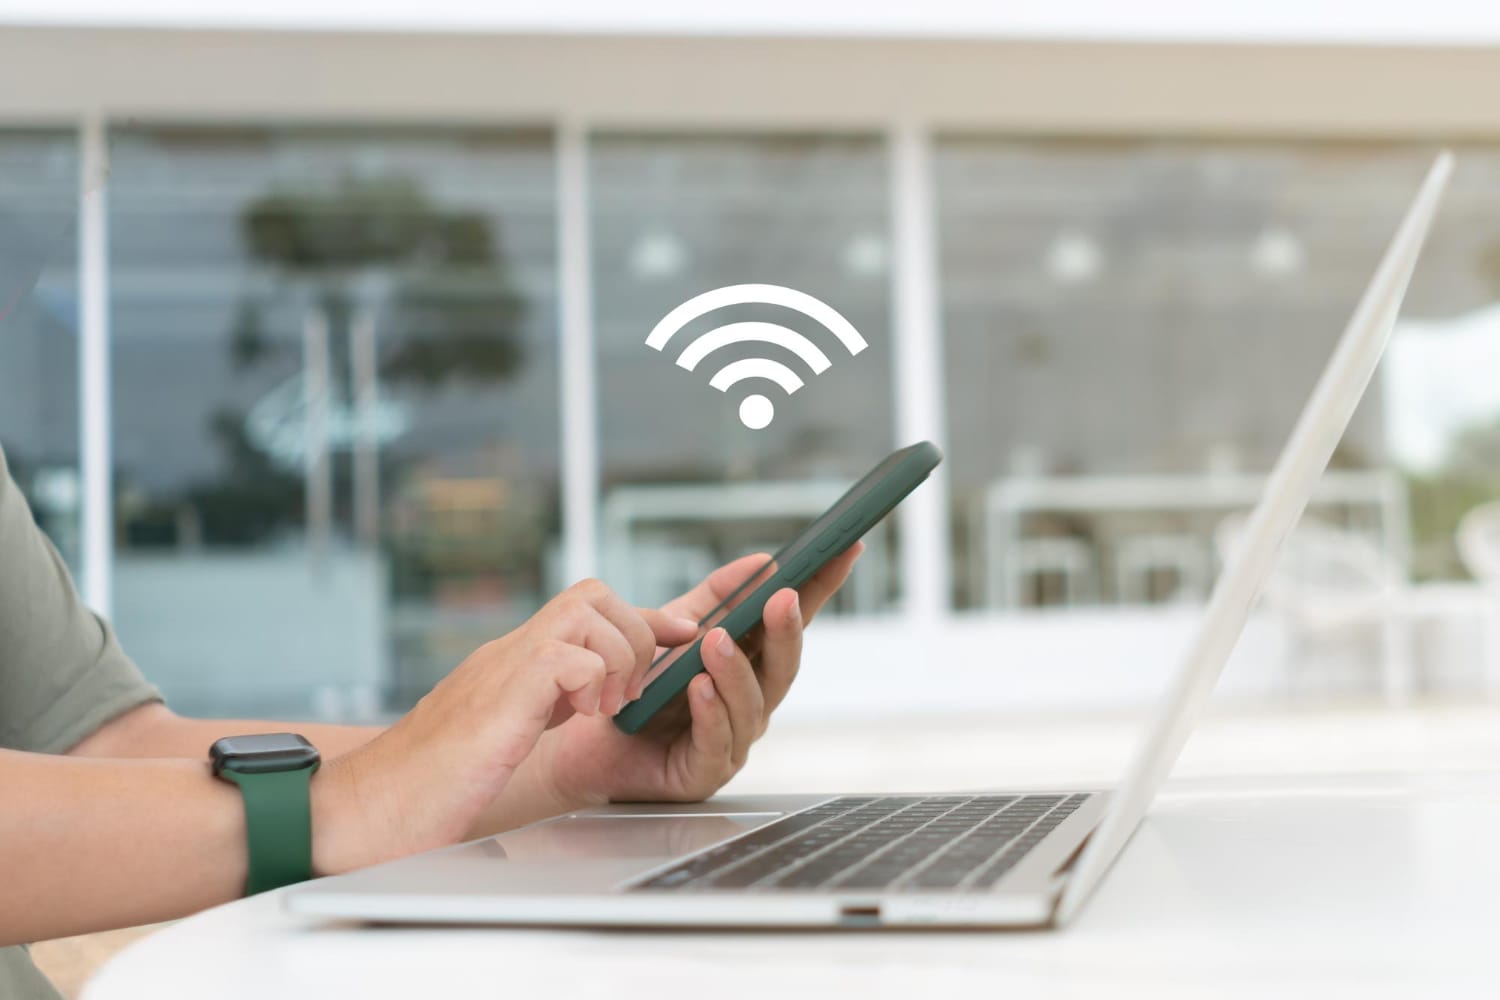
Most smartphones have the built-in ability to function as a personal hotspot. Before you activate this feature, it's important to check with your mobile provider about potential data overage charges, especially if you don't have an unlimited data plan. Keep in mind that some providers are offering unlimited data during this time.
For Android Users: Setting Up and Securing Your Mobile Hotspot
To turn your Android phone into a Wi-Fi hotspot and customize its settings for security and convenience, follow these steps:
- Open your phone's Settings app.
- Use the search bar at the top and type "Mobile Hotspot and Tethering".
- Select it from the search results.
- Tap Mobile Hotspot and Tethering again.
- Tap Mobile Hotspot.
- Tap More options (usually represented by three vertical dots ⋮).
- Tap Configure Mobile Hotspot.
You'll now see the following settings:
- Network name: This is the name (SSID) others will see when looking for your Wi-Fi network. You can change it to something unique.
- Hide my device: Enabling this makes your hotspot invisible to others unless they manually type in the exact network name. This adds a layer of security.
- Security: Here, you can choose the type of security for your hotspot (e.g., WPA2 PSK). It's highly recommended to choose a secure option to prevent unauthorized access.
- Password: This is the key others will need to connect to your hotspot. Choose a strong, unique password.
- Power saving mode: This feature helps conserve your battery by intelligently managing hotspot traffic and potentially turning it off when inactive.
- Protected management frames: This advanced option encrypts management frames, offering enhanced security for your Wi-Fi connection.
Managing Battery Life with Hotspot Timeout
Leaving your hotspot on unintentionally can quickly drain your phone's battery. To prevent this, you can set a timeout period that automatically turns off the hotspot when no devices are connected for a specified time. Here's how:
- Open your phone's Settings app.
- Use the search bar at the top and type "Mobile Hotspot and Tethering". Select it from the search results.
- Tap Mobile Hotspot and Tethering again.
- Tap Mobile Hotspot.
- Tap More options (usually represented by three vertical dots ⋮).
- Tap Timeout settings.
- Select your desired timeout duration from the available options.
For iPhone and iPad Users: Sharing Your Internet Connection
Your iPhone or iPad can act as a Personal Hotspot, allowing other devices to connect to the internet using its cellular data connection via Wi-Fi, Bluetooth, or USB.
With iOS 13 and later, devices connected via Wi-Fi will remain connected even when your iPhone or iPad screen is locked, ensuring they continue to receive notifications and messages.
When a device connects to your Personal Hotspot, the status bar on your iPhone or iPad will turn blue, indicating the number of connected devices.
The number of devices that can connect simultaneously depends on your carrier and iPhone/iPad model. If devices are connected via Wi-Fi, the host device will use only cellular data for its own internet connection.
Connecting via Wi-Fi
On your iPhone or iPad (the hotspot):
- Open the Settings app.
- Tap Cellular and then Personal Hotspot, or directly tap Personal Hotspot.
- Make sure Personal Hotspot is toggled on.
- Note the Wi-Fi Password and the name of your iPhone or iPad (this will be the Wi-Fi network name).
- Stay on this screen until you have connected your other device.
On the device you want to connect:
- Open the Settings app.
- Tap Wi-Fi.
- Look for your iPhone or iPad's name (the Wi-Fi network name) in the list of available networks.
- Tap the network name to join.
- If prompted, enter the Wi-Fi Password for your Personal Hotspot.
Connecting via Bluetooth
On your iPhone or iPad (the hotspot):
- Open the Settings app.
- Tap Bluetooth and ensure it is toggled on.
- Stay on this screen to make your iPhone or iPad discoverable.
On your Mac or PC (the connecting device):
- Open your computer's Bluetooth settings. This is usually found in the system preferences or settings menu.
- Look for your iPhone or iPad in the list of available Bluetooth devices.
- Follow the on-screen instructions to pair and connect to your iPhone or iPad. You may need to select "Personal Hotspot" or a similar option for the network connection.
Connecting via USB
You can also connect your computer to your iPhone or iPad's Personal Hotspot using a USB cable.
- Confirm if you have the latest version of iTunes installed on your Mac or PC.
- Connect your iPhone or iPad to your computer using the USB cable that came with your device.
- If you see an alert on your iPhone or iPad that says "Trust This Computer?", tap Trust.
- Your computer should now recognize your iPhone or iPad as a network connection.
Enjoyed this article? Read more articles and guides at shopcellplans.com.