The Ultimate 30-Day Carrier Trial Stress-Test Checklist

You did the smart thing: you signed up for a free cell phone trial.
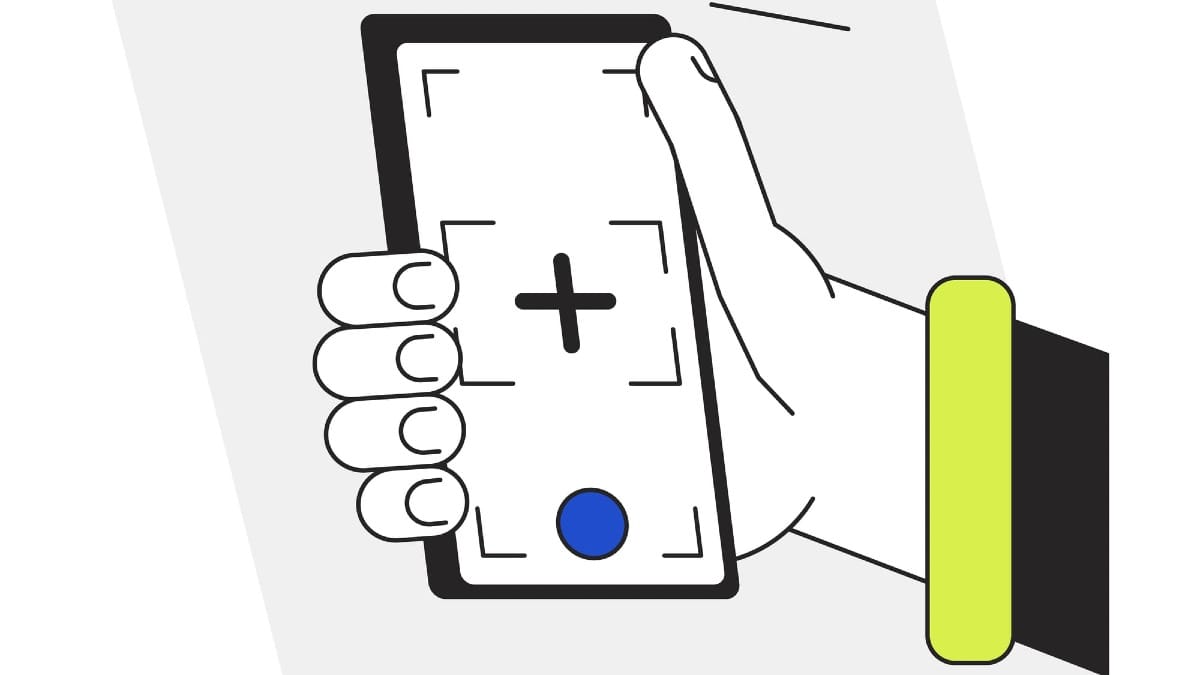
These days, major providers like Verizon, T-Mobile, and AT&T offer 30 days of risk-free service via eSIM. This means you get to use their network while keeping your existing number and plan active. It’s the perfect way to test the waters.
But here’s the secret: simply using the new service for a month isn't enough. To avoid switching carriers only to regret it six weeks later, you need a proactive plan to stress-test the network. You need to push it until it breaks.
This checklist breaks your 30-day trial into four focused weeks, ensuring you check speed, reliability, and value in every part of your life.
Week 1: Check Your Daily Spots (Home & Work)
The first week is about finding where your network’s weakest points are: your home and workplace. Don't assume any carrier is good just because the signal indicator looks strong.
Home Check (Day 1-3)
Your home signal matters most since this is where you spend the majority of your time.
- The Dead Zone Test: Go to the one spot in your house where calls usually fail (the basement, the garage, etc.). Test the new carrier right here. Can you hold a video call successfully?
- Wi-Fi Off Test: Turn off your home Wi-Fi entirely. Does the new network connect instantly? Can you stream a 1080p video on YouTube or Netflix without stopping?
- The Bedroom Call: Make a 10-minute voice call from your bedroom. This common spot often has a weaker signal due to building materials. Listen closely for clarity and stability.
Work/Commute Check (Day 4-7)
Test the network when it’s truly busy with commuter traffic and building interference.
- The Parking Garage Test: If you park in a garage, check if the signal holds long enough to check emails or start your directions app. This checks how well the signal travels through concrete.
- Peak Commute Data: Run a speed test (using an app like Ookla) at 8:30 AM and 5:30 PM along the busiest stretch of your road. Network congestion during these times is the best measure of quality.
- Office Building Test: Test the new network deep inside your office building, away from windows. Large structures can block nearly any signal.
Week 2: Test Network Capacity & Features
This week is for checking how the network handles high-demand activities and features that are often limited on basic plans.
Data Stress Test (Day 8-12)
Don't just stream video; try activities that require the best quality data.
- Video Test: Stream a video in the highest setting available (4K, if your device and the trial allow it) in a crowded public spot, like a busy mall food court. If the video pauses, the network is probably slowing down your trial line.
- Large File Upload/Download: Download a large file or upload a high-resolution photo album (over 50MB) to the cloud. Time how long it takes compared to your old carrier.
- Latency Check: Run speed tests and look closely at the Ping number. A low latency (under 50ms) is needed for mobile gaming and smooth video calls.
🧑💻 Feature Check (Day 13-14)
Verify the quality and any limits on important features you use regularly.
- Hotspot: Connect a laptop or tablet to the new trial line's hotspot. Work for an hour. Check the trial's app to see how much of the included high-speed hotspot data you used.
- Wi-Fi Calling: Turn on Wi-Fi calling. Put your phone in Airplane Mode (to ensure no cellular connection). Make a test call. If you lose Wi-Fi, does the call switch to the cellular network instantly without dropping?
Week 3: Travel, Niche Locations, & Value
The third week asks you to change your routine and check the limits of the carrier's service area.
Travel Check (Day 15-21)
Service reliability during travel shows how far the carrier’s network actually reaches.
- The Remote Visit: Drive 20-30 miles outside your usual service area to visit a relative or friend who lives in a different town. Check the signal strength at their house.
- Major Highway Driving: During a long drive (over an hour), watch the data connection. Does the phone move smoothly between 4G and 5G, or does it frequently fall back to 3G/E (Edge)? Make a note of any major dead zones.
- Crowded Shopping: Visit a major outdoor shopping center during a busy weekend afternoon. Test speeds here where many phones are fighting for tower access.
Value Check (Day 22-24)
If the trial includes extra perks, be sure to use them! This confirms if you’ll actually use the benefits the carrier offers.
- T-Mobile Perks: If testing T-Mobile, use the included T-Mobile Tuesdays benefit (like a free coffee or gas discount) to see how simple it is to redeem.
- Bonus Features: If the trial includes free in-flight Wi-Fi or international calling, use these features if possible. This clarifies the true value of the full plan.
Week 4: Final Assessment & Transition Plan
The last week is for bringing your notes together and preparing for your decision.
Final Data Review (Day 25-28)
- Review Your Notes: Look at your speed test results. Were there any consistently slow times or dead zones that happened over multiple weeks? One bad speed test is normal, but repeated drops are a warning.
- Compare Plan Features: Review the actual paid plan you would sign up for. Does it include all the premium features you enjoyed during the trial (like 4K streaming and high-speed hotspot)? Some trials offer features that only come with the most expensive plan.
- Examine Your Bill: Look at your current carrier's latest bill. Subtract what you expect to save with the new carrier and weigh that against the potential risk of poorer coverage.
End of Trial Procedure (Day 29-30)
- Cancellation Check: Confirm how the trial ends. Most eSIM trials (Verizon, T-Mobile) expire automatically, which is the easiest outcome. Carriers offering a "money-back guarantee" require a specific cancellation and return process—make sure you follow the steps exactly.
- The Switch: If you decide to switch, start the process 24 hours before the trial ends. You will need your old account number and PIN/Port-Out code to transfer your original number.
You spent 30 days gathering all the data—now you can switch carriers confidently, knowing exactly what to expect from your new network.
For the latest mobile news, comparisons, guides and opinions, visit https://www.shopcellplans.com or click down below to be redirected.